最近几年来,地理信息系统无论是在理论上还是应用上都处在一个飞速发展的阶段。 GIS被应用于多个领域的建模和决策支持,如城市管理、区划、环境整治等等,地理信息成为信息时代重要的组成部分之一; “数字地球”概念的提出,更进一步推动了作为其技术支撑的GIS的发展。 与此同时,一些学者致力于相关的理论研究,如空间感知、空间数据误差、空间关系的形式化等等。 这恰好说明了地理信息系统作为应用技术和学科的两个方面,并且这两个方面构成了相互促进的发展过程。
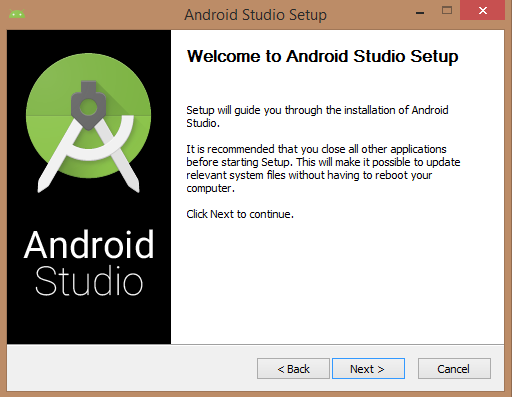
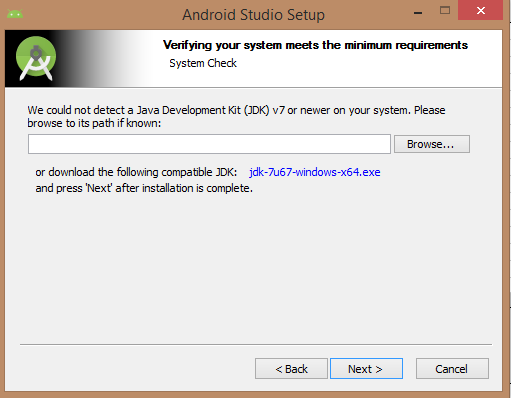
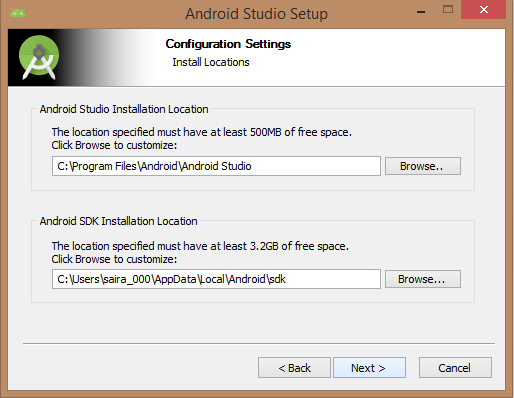
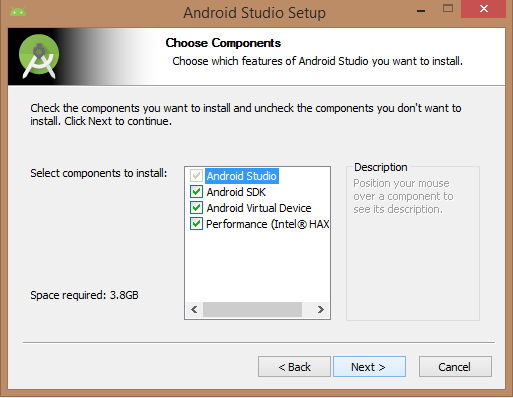
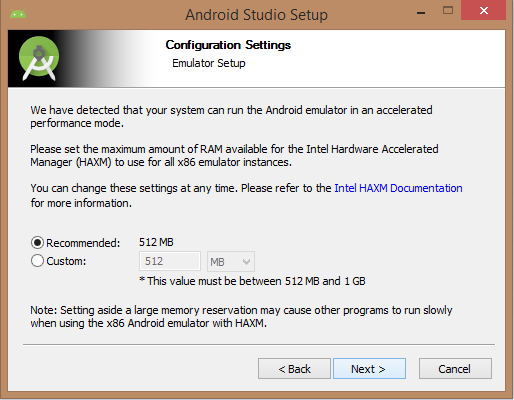
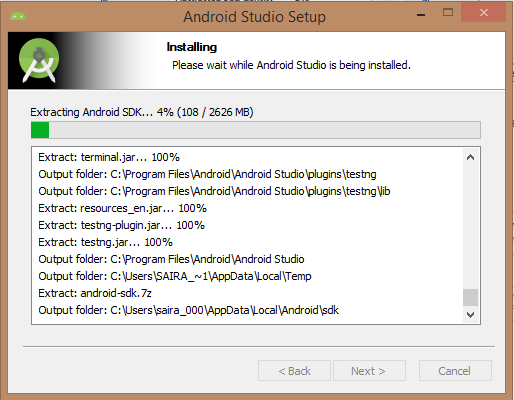
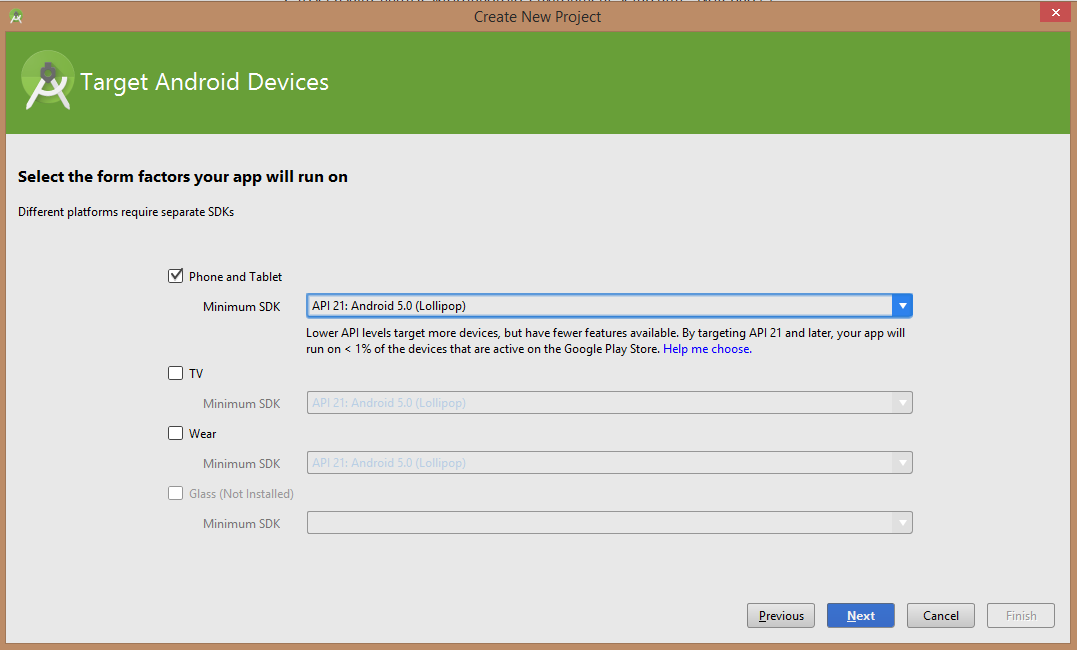
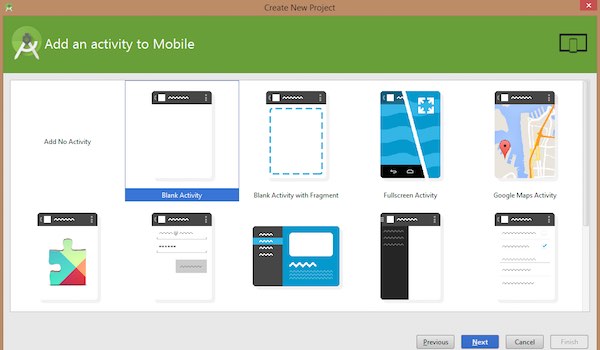
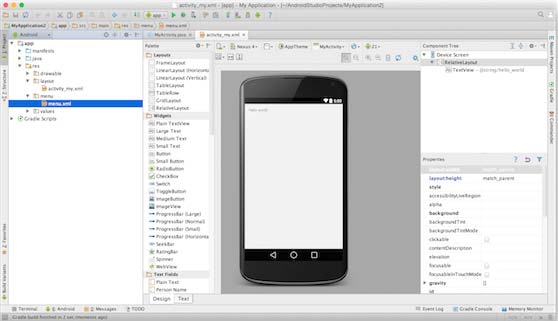
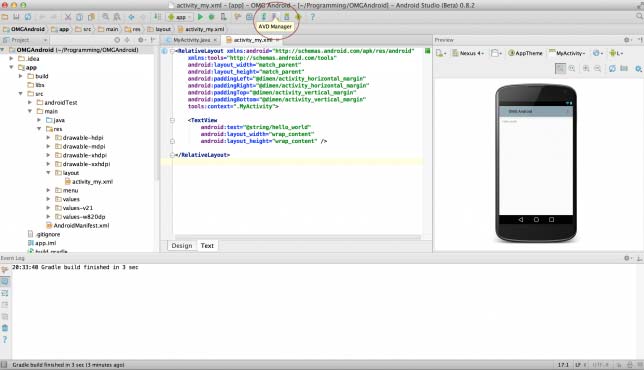
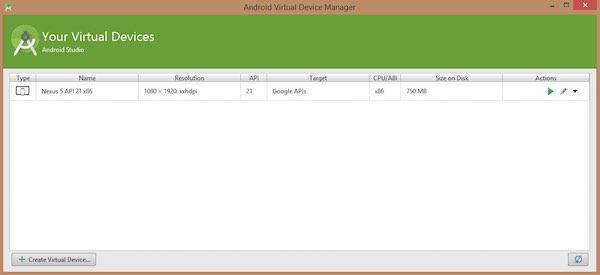
You can start Android application development in the following operating systems: Microsoft ®Windows ®8/7/Vista/2003 (32 or 64-bit). Mac ®OS X ®10.8.5 or higher GNOME or KDE Desktop All the tools needed to develop Android applications are open source and can be downloaded from the Internet. The following is a list of software you need before you start Android application programming: Java JDK5 and later versions Java Runtime Environment 6 Android Studio Android Studio is the official IDE for developing Android applications, based on Intellij IDEA. You can learn from the official website. Android Studio下载 Download the latest version of Android Studio. If you are new to installing Android Studio on Windows, find the download file named android-studio-bundle-135.17407740-windows.exe and run it through the Android Studio wizard guide. If you want to install Android Studio on Mac or Linux, you can start from the Android Studio Mac 下载 Or Android Studio Linux 下载 Download the latest version and view the instructions provided with the download file. This tutorial assumes that you install your environment on the Windows 8.1 operating system. Make sure that Java JDK is installed before you install Android Studio. To install Java JDK, see the Java development environment configuration section. Once you start the Android Studio installation, you need to set the JDK5 or later path in the Android Studio installer. The following picture initializes the JDK for Android SDK Check the components required to create the application. “Android Studio”, “Android SDK”, “Android virtual machine” and “Intel chip” are selected in the following figure. You need to specify the path to Android Studio and Android SDK on this machine. The following figure shows the default installation location on the windows 8.1 64-bit architecture. Specifies that the default ram space required by the Android simulator is 512m. Finally, extract the SDK package to the local machine, which will last for some time and take up 2626m of hard disk space. After completing the above steps, you will see the end button, and you can open the Android Studio project in the welcome screen, as shown below: Start Android application development by calling to start a new Android Studio project. On the new installation page, the application name, package name information and project path are required. After entering the application name, start selecting the environment parameters in which the application is running, where you need to specify the minimum SDK. In this tutorial, we choose API 21: Android 5.0( Lollipop) The next step in the installation is to select the activity of the mobile device and specify the default layout for the application. The final stage opens the development tools to write the application code. Android virtual appliances are required to test Android applications. So before you start writing code, create an Android virtual appliance. Click the AVD Manager icon in the following figure to start the Android AVD manager. After clicking the virtual device icon, the default virtual device already in SDK is displayed. Click the “Create new Virtual device” button to create a virtual device. If the AVD is created successfully, this means that you are ready for Android application development. Click the close button in the upper right corner to close the window. After completing the last step, finally restart your machine. Before you start with the first Android example, you need to understand some concepts related to Android application development. In writing The specific code is as follows: Click Run > Run App to run the program, and the running result is as follows: 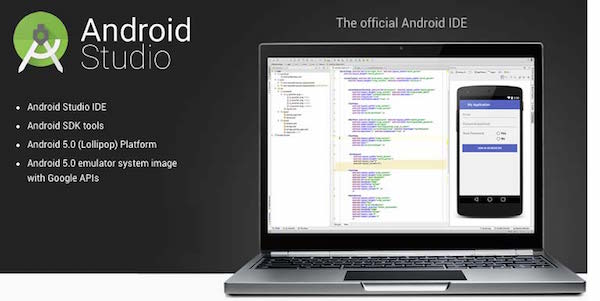
3.4.1. Step 1-system requirements 
3.4.2. Step 2-install Android Studio 
Overview 
Installation 
3.4.3. Step 3-create an Android virtual appliance 
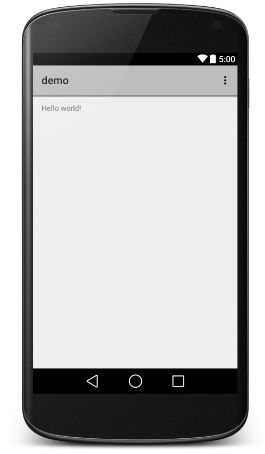
3.4.4. Hello World instance 
Hello World Before we code, we need to know the XML tag. Follow app > res > layout > activity_main.xml , open the file.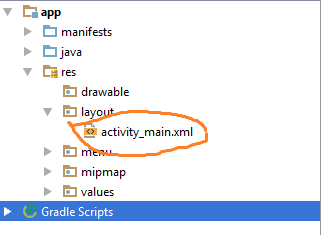
<RelativeLayout xmlns:android="http://schemas.android.com/apk/res/android" xmlns:tools="http://schemas.android.com/tools" android:layout_width="match_parent" android:layout_height="match_parent" android:paddingLeft="@dimen/activity_horizontal_margin" android:paddingRight="@dimen/activity_horizontal_margin" android:paddingTop="@dimen/activity_vertical_margin" android:paddingBottom="@dimen/activity_vertical_margin" tools:context=".MainActivity"> <TextView android:text="@string/hello_world" android:layout_width="550dp" android:layout_height="wrap_content" /> RelativeLayout>